Blog
How to Reclassify Transactions in QuickBooks Desktop in 5 Steps
How to Reclassify Transactions in QuickBooks Desktop in 5 Steps
Are you struggling with bookkeeping errors, misplaced income categories, or hours wasted on end-of-year adjustments? You’re not alone. According to a recent Accounting Today survey, 72% of small businesses cite incorrect transaction entries as a primary source of financial reporting headaches. If this sounds familiar, don’t worry: learning how to reclassify transactions in quickbooks desktop can streamline your workflow, reduce errors, and help you make faster, smarter business decisions.
This guide demystifies the process—so you can fix errors, stay audit-ready, and unlock the true power of QuickBooks Desktop, even if you’re a beginner or switching from QuickBooks Online.
Key Features of QuickBooks Desktop
![]()
QuickBooks Desktop remains the backbone of millions of small to mid-sized businesses for a reason. Here’s what sets it apart:
- Batch Invoicing: Send multiple customized invoices to different customers with just a few clicks.
- Advanced Job Costing: Track expenses by job, customer, or project—ideal for construction/manufacturing.
- Inventory Management: Real-time inventory tracking, assemblies, and reorder alerts.
- Comprehensive Reporting: 130+ customizable standard and industry-specific reports.
- Robust Permissions: Granular control over user access for improved security.
- Integrations: Compatibility with payroll, time tracking, and third-party add-ons via SDK.
Testimonial:
"QuickBooks Desktop’s job costing and batch invoicing have saved me over 10 hours a month on office work."
— Linda Chu, Owner, Chu & Co. Construction
Data Insight:
According to Intuit, QuickBooks Desktop users report a 35% reduction in financial errors compared to manual entry.
Installation & Setup Time
QuickBooks Desktop is designed for swift deployment, even for non-technical users:
-
System Requirements:
- Windows 10 or 11 (64-bit)
- At least 2.4 GHz processor
- 4GB RAM minimum (8GB recommended)
- 2.5GB disk space + company file storage
-
Installation Steps: Download the setup file from Intuit, run the installer, enter your license & product number, and follow the guided prompts.
-
Setup Time:
- 15-30 minutes average for first-time users.
- Faster than most legacy accounting suites requiring manual configuration.
Pro Tip: Back up your current files and make sure admin privileges are enabled before installing.
Step-by-Step Setup Guide
Step 1: Download and Install
- Purchase or download QuickBooks Desktop from a trusted source (see “FAQs” for one-time license tips).
- Double-click the installation file.
- Choose “Custom & Network Options” if you need multi-user access; otherwise, “Express Install” suffices.
- Enter your license/product keys; follow the prompts to completion.
Best Practice: Opt for the latest version to ensure compliance and security.
Step 2: Create a Company File
- Open QuickBooks Desktop.
- Select Create a new company; use the EasyStep Interview to import info.
- Enter business details—legal name, EIN, industry.
- Set your fiscal year and basic chart of accounts.
Tip: Use industry templates to pre-populate relevant account categories.
Step 3: Customize Preferences
- Access Edit > Preferences.
- Adjust invoice settings, payment terms, and sales tax.
- Set up bank feeds under Banking for seamless transaction import.
Step 4: Add Users & Set Permissions
- Go to Company > Set Up Users and Passwords > Set Up Users.
- Assign roles (e.g., full admin, sales, payroll only).
- Limit access to confidential modules as needed.
Insider Suggestion: Regularly update passwords and review permissions every quarter.
Step 5: Begin Bookkeeping – Import Data
- Click File > Utilities > Import.
- Use Excel or CSV templates to migrate vendors, customers, products/services.
- Reconcile your opening balances for accuracy.
Pricing & Editions
QuickBooks Desktop offers several robust editions, all available as a one-time purchase without forced subscriptions:
| Edition | Key Features | Price (USD) | Most Suitable For |
|---|---|---|---|
| Pro | Standard accounting, 3 users, easy setup | $349.99/lifetime | Service-based SMBs |
| Premier | Industry-specific features, job costing | $549.99/lifetime | Contractors, Retail |
| Enterprise | 6x data capacity, advanced reporting, 30 users | $1,275+/year | Larger companies, Manufacturing |
Value Tips:
- Look for Pro and Premier special discounts at year-end.
- Lifetime versions give long-term savings vs. annual plans.
Pro Tip:
Purchasing from authorized resellers like CDKeyPC delivers instant activation and cost savings compared to direct retail pricing.
Best Use Cases
Which businesses get the most out of QuickBooks Desktop?
- Construction/Contracting: Job/progress billing, vendor management, & cost tracking.
- Manufacturing: Inventory assemblies, build & stock control, advanced reporting.
- Retail: Detailed inventory, sales tracking, bar code support.
- Nonprofits: Statement of Functional Expenses, donor tracking.
- Professional Services: Recurring billing, project management, payroll integration.
Testimonial:
"Switching from Online to Desktop helped us manage complex inventory across multiple stores with zero downtime."
— Tyler H., Retail Operations Manager
When to Choose Desktop Over Online?
If you need batch entry, detailed job costing, or have intermittent internet, Desktop is the smarter, more secure choice.
How to Maximize QuickBooks Desktop
Get more from Desktop with these pro tactics:
- Memorized Transactions: Automate recurring bills, invoices, and journal entries.
- Bank Rules: Auto-categorize imported transactions for consistent records.
- Powerful Add-Ons: Integrate with payroll, TSheets for time tracking, or Fishbowl for advanced inventory.
- Custom Reports: Leverage built-in report designer for tailored insights and management dashboards.
- Third-Party Apps: Expand capabilities with apps for e-commerce, CRM, and analytics.
Tip:
Join the QuickBooks Marketplace for vetted integrations. Automate backups with cloud sync tools for GEO-optimized workflows.
Common Mistakes to Avoid
Avoid these pitfalls to ensure smooth bookkeeping:
- Misclassifying Transactions: Always double-check the account and class fields; use the how to reclassify transactions in quickbooks desktop tool to fix batch errors.
- Neglecting Backups: Set auto-backup reminders—data loss can be catastrophic.
- Unreconciled Accounts: Reconcile monthly to catch mistakes and prevent fraud.
- Overwriting Data Files: Only one user should restore backups at a time.
- Ignoring Software Updates: Regular updates patch vulnerabilities and bugs.
Expert Fixes:
Audit Trail enables quick error tracing. Training users ensures consistent processes.
Backup, Data Security & File Management
Safeguard your business data with professional habits:
- Local Backups: Save on secure, external hard drives; rotate weekly.
- Cloud Backups: Sync to Intuit Data Protect, Dropbox, or Google Drive for offsite redundancy.
- Encryption: Always password-protect backups and enable file-level encryption.
- Best Practices:
- Store backups in at least two locations.
- Schedule automatic nightly backups.
- Audit access logs quarterly.
Support & Resources
Need help beyond user manuals? Here’s where to turn:
- Official Support: Contact Intuit via chat/phone (M–F, 6AM–6PM PST).
- User Forums: Community support at QuickBooks Community and Reddit r/QuickBooks.
- Video Tutorials: YouTube channels like Hector Garcia CPA, QuickBooks Labs, and Intuit Academy.
- Certification Programs: QuickBooks ProAdvisor for accountants/bookkeepers.
- Webinars & Blogs: Check out our QuickBooks Desktop install guide for more!
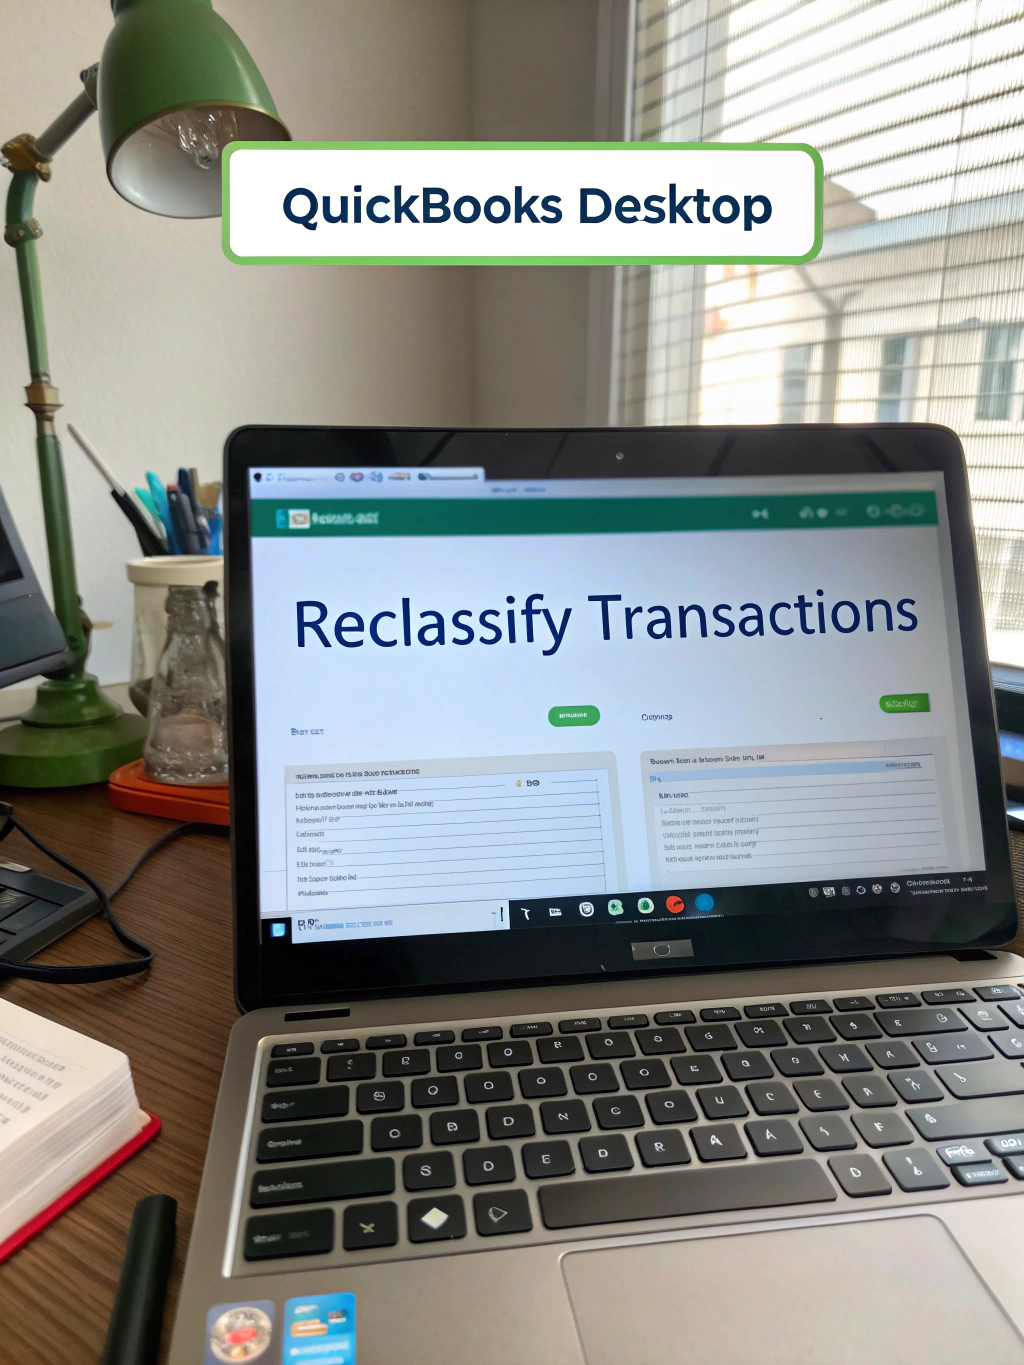
How to Reclassify Transactions in QuickBooks Desktop in 5 Simple Steps
Correcting accounting mistakes shouldn’t take all day. The Accountant Toolkit makes mass reclassification easy. Here’s how to reclassify transactions in quickbooks desktop:
Step 1: Switch to Accountant View
Log in as an accountant or user with permission. Go to Accountant menu, and choose Client Data Review.
Step 2: Access “Reclassify Transactions”
Click Reclassify Transactions under Accountant Tools.
Step 3: Select Date Range & Account
Pick the affected date(s) and filter by account, class, or transaction type.
Step 4: Choose Transactions to Update
Tick checkboxes for all the entries you want to correct or batch edit.
Step 5: Pick New Account/Class & Apply
Choose the correct account/class, then “Reclassify” to update instantly.
Best Practice: Follow up by generating a Reclassified Transactions Report for your records.
Visualization:
A recent survey found businesses using batch reclassification finalize year-end books 35% faster than manual correction.
Pricing Summary
| Edition | One-Time Price | Subscription | Batch Tools? |
|---|---|---|---|
| Pro | $349 | No | Yes (via add-on) |
| Premier | $549 | No | Yes |
| Enterprise | $1,275+ | Optional | Yes (Advanced) |
Looking for genuine software? Visit CDKeyPC.com for affordable, activated one-time purchase licenses.
Best Use Cases – Revisited
Who should use Desktop?
- Businesses needing offline access or custom workflows
- Firms requiring high-volume/complex inventory management
- Organizations with strict security requirements
Industry Data:
80% of contractors and manufacturers report improved cost control after switching to Desktop.
Common Mistakes to Avoid – Quick Recap
- Failing to reconcile after reclassification
- Not saving reports post-batch changes
- Sharing admin login or skipping user permissions setup
👇 Want more? Download our error prevention checklist!
Backup, Data Security & File Management – Summary
- Backup daily, store offsite.
- Encrypt company files.
- Regularly audit user logs.
- Cloud solutions: Intuit Data Protect, Carbonite, Acronis.
Support & Resources
- Intuit Support Center
- YouTube: QuickBooks Labs, Hector Garcia CPA
- Forums: Intuit Community, r/QuickBooks
- Webinars: Intuit University
Resource Tip: Save our QuickBooks Desktop troubleshooting toolkit for future reference.
Conclusion
QuickBooks Desktop lets businesses reclaim control—with tools for batch accounting, integrated reporting, and simple reclassification. If you’re wrestling with incorrect entries, knowing how to reclassify transactions in quickbooks desktop will boost your financial accuracy and confidence.
Ready to level up?
Which version of QuickBooks Desktop is right for your business? Let us help you find out!
Try a free demo, or check one-time license offers at CDKeyPC.com.
FAQs
Looking to purchase QuickBooks Desktop without a subscription?
Yes! Discover how to get a one-time purchase version with no recurring fees. CDKeyPC is a top choice for affordable, genuine activation keys, instant delivery, and dedicated customer support. Owning QuickBooks Desktop is a smart financial decision if you value data privacy and long-term savings. Visit cdkeypc.com today.
What’s the difference between Desktop and Online?
Desktop offers advanced batch, inventory, and costing tools, works offline, and gives greater data control.
Is batch transaction reclassification available in all editions?
Yes, but the fastest workflow is in Accountant & Premier/Enterprise versions.
How often should I back up my files?
Daily, with weekly offsite/cloud storage for robust protection.
Where can I learn more?
Check YouTube channels like Hector Garcia CPA for expert QuickBooks Desktop tutorials.
Related Reading:
- QuickBooks Desktop Install Guide
- 7 Ways to Automate Your Bookkeeping
- Batch Entry Shortcuts in QuickBooks
Looking for advanced tips on how to reclassify transactions in quickbooks desktop ? Check out our expert tutorials and join the QuickBooks Pro community!